Customize signup & login
Copy and customize the signup & login pages
Log into Erply and open the app store (Apps -> App Store). Search for the apps named “SignUp App” and “Login app”.

Clone these apps (copy their templates into a new app). Change the HTML templates, replace the standard Erply design with your own. Add other helper pages as needed (landing, features, FAQ, pricing, support).
All the fields you see on the default signup form are required for creating an Erply account (but you can add more fields if needed).
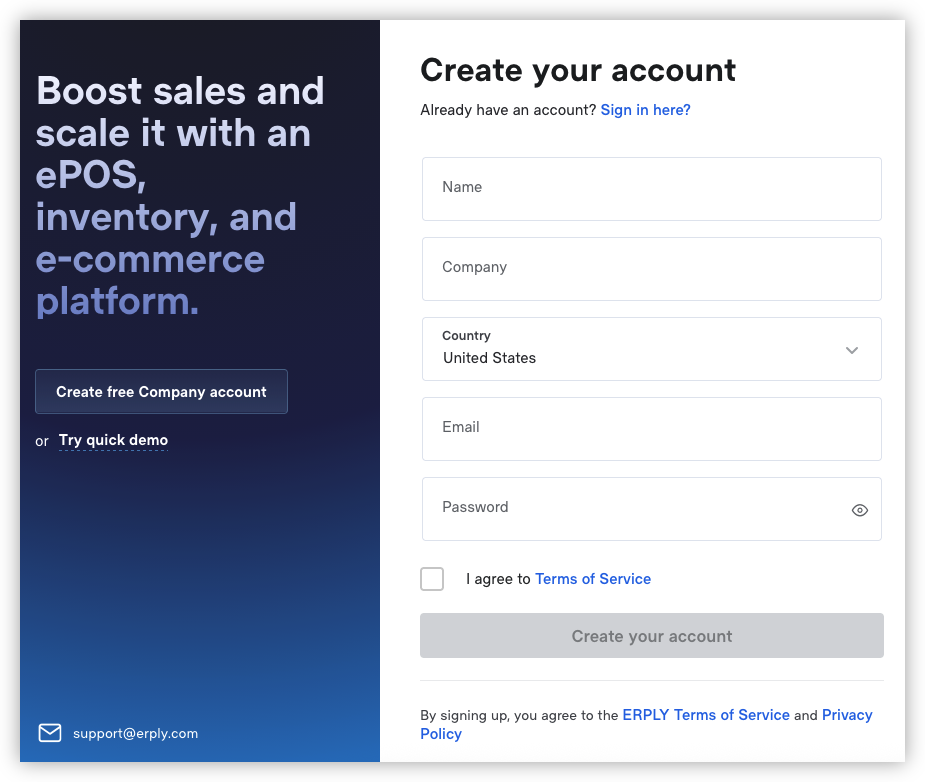
The “Country” dropdown determines which datacenter the Erply account will be created in. If you do not offer these options and the account gets created in an inappropriate datacenter, the server maintenance windows will conflict with customer’s hours of business.
Make the signup and login templates public (“Publish settings” > “Allow B2B and public access” in the editor sidebar). This means that everyone can visit the URL without authentication.
Verify in an incognito window that you can open the pages.
Further customization
Within the signup app, it is possible to do more setup work. In the repository there is a page with plain signup only (template "sign-up-page") and an alternative page that also sets a default dashboard page to the account (template "sgn-signup-cafa-page")
Possible extra steps:
- Create an account (organization, tenant) on another software platform as well
- Change configuration parameters or CAFA settings
- Including the dashboard URL. This is explained on the next page.
- Prefill the Erply account with data
- Delete, create or modify user groups
Create a wizard app if needed
If the setup process is lengthier, or it requires the user to give input and make choices, it is better to write it as a separate “wizard app”. This can be a conventional GoERP app. Ask GoERP team to make it autoinstallable, and redirect user to that app once the signup is complete.
The user can then continue the process in the wizard app.